
We all know that Ableton Live's automatic time compression/ expansion facilities are second to none, allowing us to sync loops together effortlessly, whatever their original tempi. Did you know, however, that there are quite a few interesting and novel effects to be had by creatively misusing the different TC/E algorithms'
In this tutorial, I'm going to give you a whistle-stop tour of what can be done with each of the algorithms. Let's get started by checking out the source audio in its original form:
We have some sustained, pitched content here as well as some more erratic, noise-based textures mixed in. Depending on which TC/E algorithm you're using, you'll get different effects and artefacts which you can use either to make the pitch shifting/ time stretching sound smooth and natural, as intended, or for serious mangling.
To see the different algorithms, load some audio into a track and click on the coloured bar at the top of the audio to enter the 'Clip View'. In the 'Sample' box, you need 'Warp' (in the second column) switched on.
The algorithms are selectable via a drop down menu in this column, and you can use the 'Seg. BPM' value to change the amount of TC/E you want to apply. Increasing the number here makes the audio play back slower, and vice-versa.
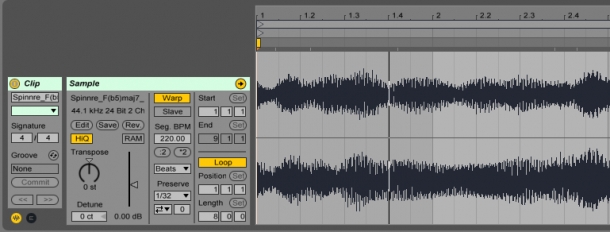
First up is the 'Beats' algorithm. This is the default setting, and is intended for rhythmic material. It 'slices' the audio at specific points: either wherever it detects a transient, like a drum hit, or on every subdivision.
In this example, I've set it to preserve every 1/32 subdivision, and adjusted the 'Transient Envelope' to be very short. Now, we end up with a short 'window' of sound occurring where Live expects there to be a 1/32 subdivision: 8 windows per beat.
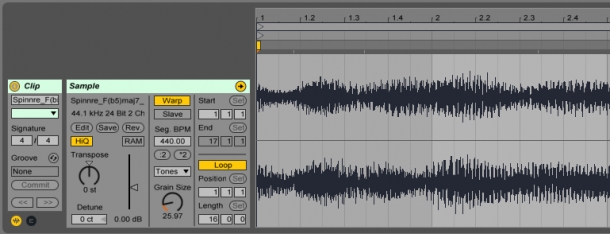
Next is the Tones algorithm. This works by chopping up the audio into 'grains' - tiny sections of audio with short fades applied to the starts and the ends, which are played repeatedly to fill up the gaps if we're slowing the playback down.
Using a smaller grain size on pitched material is usually not recommended, especially with lower pitches, as the periodic cycles that make up pitch are broken up by the grain edges. However, the effect this creates is really glitchy!
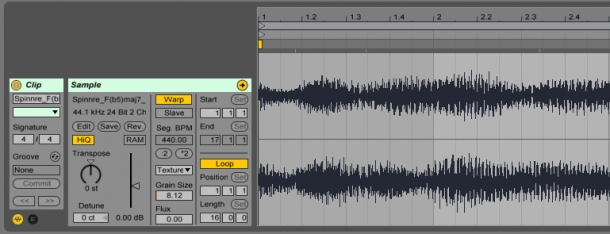
The Texture algorithm is an interesting one. It lets us add some 'flux' to vary the windowing and playback rates of the grains, specifically to avoid the glitching effect we got from Tones. However, it also lets us get really small grain sizes.
Here I've found that ~8ms corresponds to the wavelength of the 3rd harmonic, meaning that when the grains are played back, the sounds gets eerily resonant!
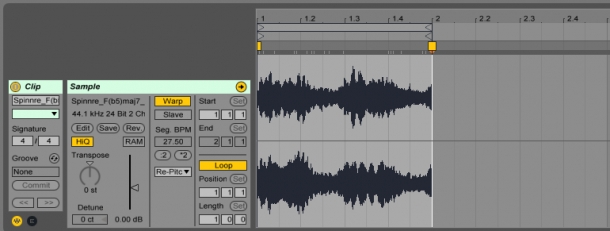
Next is the Re-Pitch algorithm, which actually just does what a sampler does - it changes the ratio at which the samples are played back according to the sample rate. So if we pitch the audio up an octave, it plays back every other sample at the sample rate, which halves the duration and raises the pitch by an octave.
This one is nice as it provides a really clean signal which we can use for further manipulation:
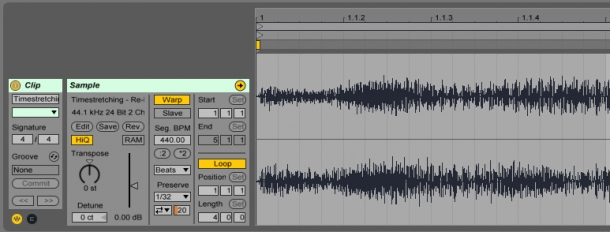
Here, I've rendered the audio and dropped it back into a new track. Alternatively, you could 'freeze' the track (see the 'Edit' menu) and chop out the section you want. Next, I've run the new clip through the same Beats manipulation as before, to create these staccato blips.
As you can see (and hear), there is a wealth of audio manipulation to be had from abusing Live's crafty TC/E methods - give it a go, and mangle some audio without going anywhere near a plug-in!
Check out our full range of loops and samples for exciting new material to inspire your experiments in time compression and expansion. Be sure to explore our custom tools for Ableton Live as well.


