Unsurprisingly, perhaps, one of my favourite tools for processing loops and samples is EQ: it's indispensable for shaping tones and making things sit right in the mix. However, the EQ Eight plugin found in Ableton Live has the potential for more creative processing than just keeping things neat and tidy.
From injecting rhythm by gating EQ bands to performing risers effortlessly using nothing more than white noise, paying attention to some of those often-overlooked controls on the EQ Eight's front panel will reward your productions with rich and inspiring sound design!
I'm going to be applying some of these neat EQ tricks to sounds from our Polychrome Beats sample collection, so pick it up if you want to try these steps out on the original material. Let's get started!

1. Widescreen Display
This tip doesn't give you great sounds by itself, but it sure makes getting there easier, as we'll see shortly. If you click the small arrow button next to the EQ Eight's Bypass button at the top left, it opens up the Session/Arrangement Display.
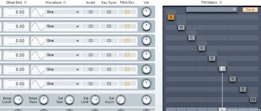
This puts the display up into the space where tracks would otherwise go, giving you a much bigger display of the spectrum, EQ curves and the EQ band handle circles. You'll notice that this also changes the appearance of the EQ Eight in the Device View at the bottom, too: you can see all the EQ bands' Frequency, Gain and Q controls lined up at once.
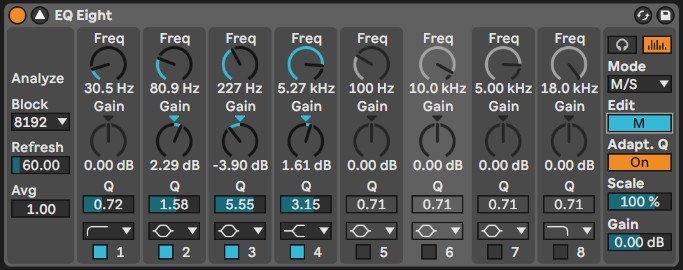
On the left are parameters for the spectrum display, labelled 'Analyse'. Upping the Block size to 16384 from the default 8192 will double the frequency resolution of the display, great if you're doing razor-sharp adjustments on the big display. You can also up the 'Avg' factor so that the display changes more smoothly, so you can get a better handle on what frequencies are most salient.

2. Audition Mode
This is where things start getting really cool. Over on the right-hand side of the EQ Eight's main panel is a small button with a pair of headphones shown on it.
Pressing this puts the device into Audition Mode, meaning that clicking and holding on any of the EQ filter dots will allow you to only hear the output of that particular filter. This allows you to hear more precisely how your EQ tweaks are affecting the sound.
If you're anything like me, you'll instantly start playing around with those circles! Even just clicking them on and off makes for some rhythm injected into a pad!

To record the output of your performance on the EQ Eight, just create a new audio track and set the input of that track to the name of the track where your EQ Eight is. Record Arm the new track, hit record and get clicking! Theremin, here I come!
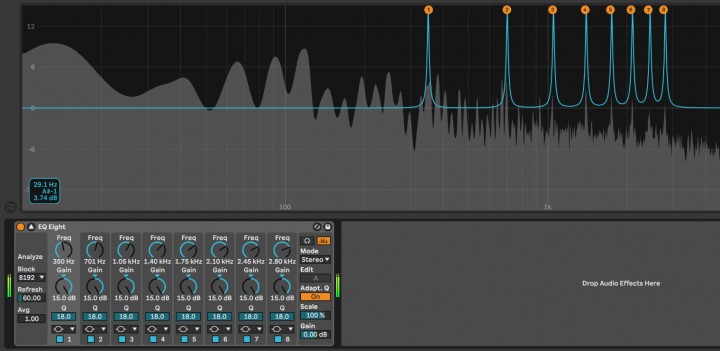
3. Multiple Selections
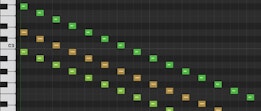
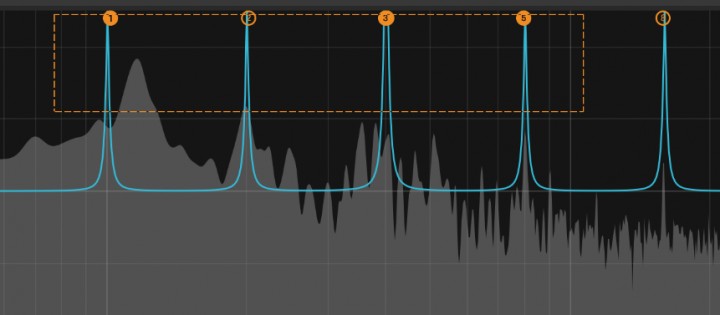
In the image above, you can see that it's actually possible to select more than one of the filter dots in order to gang them together and control them all at once. Something that's interesting to do with this trick is to control the frequencies together once they're tuned to the harmonics of a particular note in your material.
To do this, tune the lowest frequency band to 100Hz, and set the others to 200, 300, 400 and so on, all with high Q settings. Now, select all their handles and move them all around to either accentuate or knock out notes from a loop!

4. The Scale Control
This control is awesome! It lets you alter the gain of all frequency bands at once, whether all the handles are selected or not.
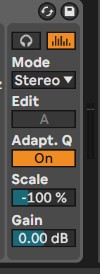
But the reason that it's really cool is that you can use the trick above to hone in on a troublesome note (such as a major third in a sample you'd like to be minor), and then flip the Scale from 100% to -100% and hear the note disappear!
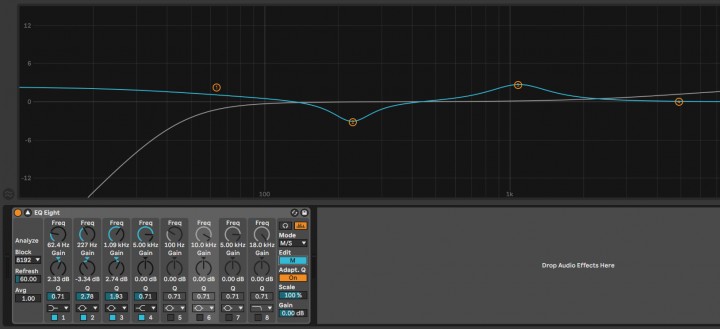
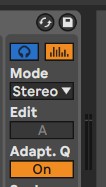
5. M/S Mode
The M/S mode is what truly gives the Swiss knife that is the EQ Eight its sharp edge. It stands for Mid/Side, and involves a spot of nifty polarity inversion to turn the Left/Right channels of stereo into a channel for anything in the middle and another for anything off to either side of the stereo stage.
This way of processing is a favourite of mastering engineers because it lets you enhance both bass oomph and brightness in the middle (on the kick, bass, snare and vox, for example) while dialling it down to the sides where you don't need it, all without losing a single dB of overall headroom!
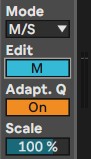
Just push the 'Edit' button to flip between the Mid and the Sides once you're in M/S mode, and adjust them separately.
That's it for this tutorial! I hope you've learnt something new about EQ Eight and have some ideas for how you can apply these tips next time you're EQing a track - until next time, get creative!