
One of Trap's most unmistakable and irresistible characteristics is that low-slung, booming bass sound. Drenched in sub bass energy and yawning lazily across tight Trap hi hat and snare patterns, Trap bass takes its cues from the kick drum of the famous Roland TR-808 drum machine. Whilst the 808 is responsible for the deliriously deep Trap bass sound, we can create something similar that is in fact far more flexible and adjustable using modern soft synths - this is none more true than with the king of all vst bass synths, Massive.
In this video tutorial, I'll show you how to create a deep, powerful bass sound in NI Massive and combine it with a 75 Bpm Trap drum pattern (downloadable below). From choosing the right waveforms to voicing, effects and beyond, I'll show you how quick and easy it is to setup the right envelopes and devices to craft an incredibly versatile, foundation Trap bass sound to use in your music productions. I'll be using Ableton Live 9 to mix my Trap bass with some drums and synth chords but you can of course apply the very same techniques in any DAW you care to choose - let's get started!
Creating An 808-style Trap Bass In Massive
Watch the full tutorial video above for a real-time walkthrough in creating a Trap bass in Massive - here are the main steps summarised:
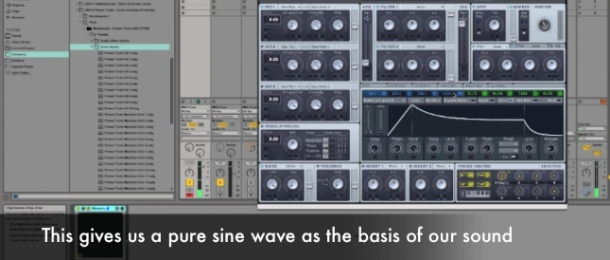
1. select the 'Sin-Squ' waveform on oscillator 1 and turn the 'Wt-position' all the way left to 0%. Under the 'Voicing' tab, select 'Monorotate' and increase 'Unisono' from 1 to 3.
2. go to envelope 4 (Massive's default volume envelope), make sure the decay level is up full (100%) and turn 'Attack' to around 22% and 'Release' to 60%. Make sure 'Glide' is at 0% under the 'Osc' tab and also select the 'Restart via Gate' option.
3. click on envelope 1 and turn the 'Decay' level to 0%, whilst setting 'Attack' to 0%, 'Release' to 50% and 'Decay' itself to about 40%. Place this envelope on oscillator 1's pitch modulation slot and set the value to 33 semi-tones.
4. under the 'Voicing' tab, enable 'Wavetable position' and set the slider to around 35%. Go to 'EQ', turn 'Bass' up to 55% and reduce the master volume dial to make sure you aren't clipping the output.
5. select 'Classic Tube' in the FX 1 slot and set both 'Wet/Dry' and 'Drive' to about 40%. Done!
Download the free Massive Trap preset and MIDI loops used in the video tutorial using the button below.


