
Welcome to the first instalment in our new ‘Samplers In Focus’ series, taking a closer look at some of the deep, often overlooked features of our favourite built-in DAW samplers!
Today, we’re throwing Logic Pro’s classic EXS24 sampler under the microscope, showcasing some of the more unusual tricks this celebrated sampler is capable of.
It might have been around the block a few times and look a little dusty around the edges but don’t be fooled by appearances - Logic’s native sampler is a workhorse plugin that can deliver extremely expressive instruments, from drum kits to orchestral flavours and far beyond.
We’re going to focus on it’s use as a drum kit sampler today, as even narrowing down our scope this much throws up a wealth of options for pumping out interesting percussive vibes. Let’s dig in!
1. Unison Mode
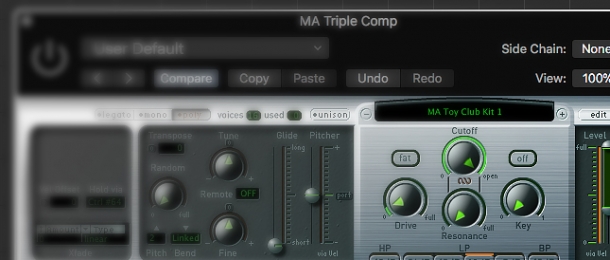
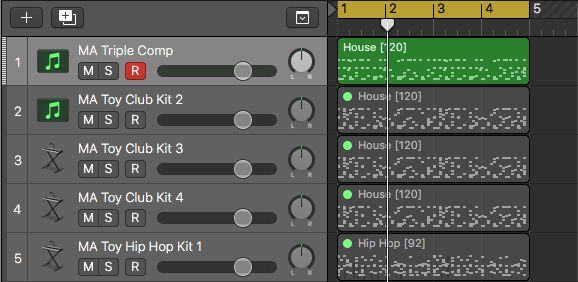
To kick things off, let’s load up a drum kit sampler patch, or .exs file, from our brand new Toybox - Found Percussion Samples pack. I’ve loaded up ‘MA Toy Club Kit 1’ for the purposes of our demonstration.
Here’s how this kit sounds triggered by a MIDI file and the the ‘MA Triple Comp’ channel strip, which are both included as part of Toybox:
As you can hear, this kit has been pre-mixed and panned, which is achieved by opening EXS24’s ‘edit’ menu and adjusting the values in both the ‘vol’ and ‘pan’ columns.
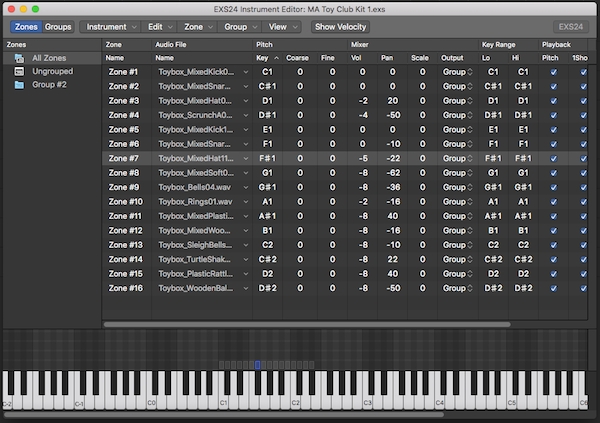
This is how the kit comes pre-packed within Toybox, which is a great jumping off point for our investigations into EXS24’s features.
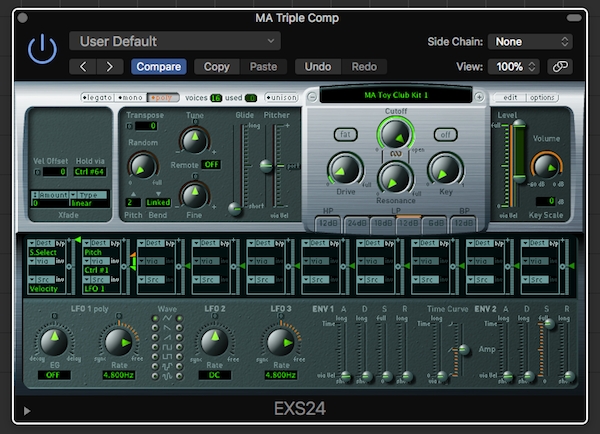
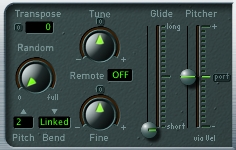
Firstly, I want to showcase the sampler’s ‘unison’ feature, which is exactly the same as the ‘unisono’ or voice stacking option you may have noticed in one of your soft synths.

Borrowing the idea from classic analog synths, the unison feature creates copies of any sample triggered by a MIDI or keyboard note and very slightly detuned them, creating a thicker sound as a result.
You can control the amount of detuning using the ‘Random’ dial, which lets you set a maximum detune value of up to 50 cents, or half a semitone (or, a quartertone!). Logic will choose a random value between 0 and the maximum you specify with this dial, every time a sample is triggered.
Let’s hear how this sounds in the context of our drum kit, setting the random value to the maximum of 50 so we can clearly hear the result:
The drum sound instantly has more width and depth to it, producing a fuller sound. Of course this might be too much for what you’re after in your track, so you can use the random control to scale things back.
2. Glide Slider
Another feature EXS24 shares with soft and hardware synths is glide, or glissando in music theory, which causes the pitch of notes to bend up or down from the previous to the next.
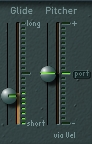
Whilst this can give you a very smooth result when used on a mono synth line, in the context of a drum pattern it sounds a bit wonky - here’s the result when setting the glide slider in EXS24 to 180ms:
It’s kind of a cool effect, though not one you probably want to have on your drums throughout an entire production!
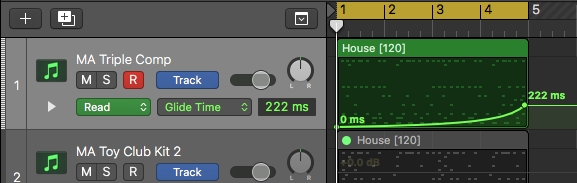
One more practical use of this effect might be to automate the slider so that your drums sound ‘normal’ at the beginning of the first bar, then start to slide around the scale right at the end, creating momentum going into the next section:
I used the automation curve tool in Logic Pro X to achieve the exponential shift into the glide effect at the end of our 4 bar pattern, so that the glide doesn’t get in the way too much at the start of the beat.
Here’s another idea - duplicate your EXS24 kit, turn the glide slider on the copy back down to 0ms, and mute all the MIDI except for the core kick, snare and hi hat notes.
Now back on the original copy, mute just the kick, snare and hat, so that the glide effect is only applied to the percussion:
This adds a funky but much subtler flavour to our original groove!
3. Modulation Matrix
The next feature I want to cover is, in my opinion, the most powerful EXS24 has to offer - the modulation matrix.
Again, this is a feature borrowed from classic analog synths, which allows for the mapping of parameters to each other, creating natural cause-and-effect networks of changes to the sound.

My favourite use of the matrix is to map MIDI velocity to a host of different parameters, which means that the drum sound will change depending on the velocity of the note triggering it.
This means that rather than just triggering exactly the same sound with your MIDI every single time, you get slightly different results, creating a much more organic effect.
I think it will be easier to hear this on just a single sound initially - I also want to change the beat to a Hip Hop pattern, so here’s just the hi hat line from one of the Hip Hop patterns and kits from Toybox:
Now, here’s the same pattern with the velocity mapped to change 5 parameters at once; the envelope decay, pitch, filter cutoff, pan and sample start location:
A much more interesting result, I think you’ll agree! It’s subtle but it also approximates more closely the playing of a really drummer, producing a more ‘human’ sound.
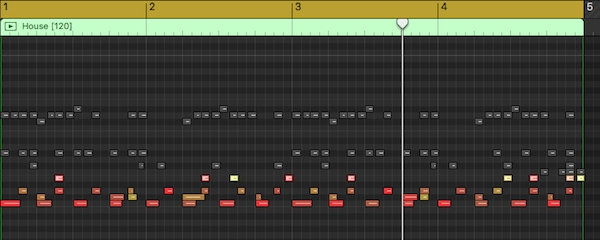
Here’s the whole Hip Hop beat:
Now, here’s the beat again but with the same mod matrix settings applied as above:
This version has a much livelier feel, much more of a swagger in its step!
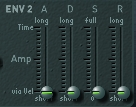
I just want to bring a couple of points to your attention, to explain how I was able to achieve this sound. Firstly, I set EXS24’s env2 decay and sustain settings to 0ms. This then lets me use velocity mapping to bring the decay up from 0 depending on how high the velocity amount is.
Thus, quieter notes have a shorter decay, louder ones longer. This is exactly how acoustic instruments behave!
The sample start parameter is another very interesting one - this allows us to dynamically change the start point of a sample when it is triggered. So in other words, you don’t need to trigger a sample at the very beginning of the file, every single time, as this leads to staler, more robotic sound.

It’s important to note here that I clicked the ‘inv’ or invert button in the mod matrix when modifying this parameter - what this means is that instead of the sample being triggered later in the file as the velocity gets higher, the sample is trigger later when the velocity gets quieter.
What this effectively does is start to cut off the attacks of notes a little as the velocity gets quieter, meaning the louder MIDI notes sound much punchier.
This is another title trick that mimics the playing of a real drummer and it works wonders in giving electronic beats more life and vibe!
4. LFOs
Finally, I want to take a look at EXS24’s LFOs. These can be assigned to parameters via the mod matrix and whilst I find their use less obvious than mapping velocity in the context of beatmaking, we can still get some interesting results using them here.
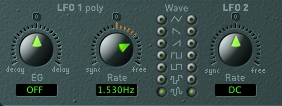
To give you a clear idea of how EXS24’s LFOs can influence our drum sound, I’ve mapped LFO 1 to both pitch and pan, changing the LFO’s shape to random and slowing it down to 1.53Hz:
Obviously this is quite an extreme effect - a better, more practical use of EXS24’s LFOs might be to give your hi hat patterns a bit of extra rhythm:
Here I’ve used both LFO 1 and LFO 2 to modulate the filter cutoff of just the hi hats in our beat, adding a bit of extra vibe by damping certain notes in the sequence.

The mod matrix allows us to scale our modifying parameter by a second parameter, meaning we can create more complex modulation patterns than a simple cycling LFO. Here I’ve scaled LFO 2’s output via LFO 1, creating a more rhythmically interesting modulation sequence.
As a final note, if you click the little arrow at the bottom of EXS24, you can get access to a number of extended features, such as the ‘velocity random’ slider.

Adjusting this adds a certain amount of randomness to the velocity of incoming MIDI notes, which when used alongside the mod matrix mappings I’ve shown you above, helps to deliver an even more naturalistic sound (it’s also handy if you’re lazy and don’t want to edit each MIDI note’s velocity individually!).
A Workhorse Sampler!
This brings us to the end of our first instalment of Samplers In Focus - I hope the above has helped you to see how EXS24’s powerful features can help you to chop and change your drum sound, giving more expressive feel to the way samples are triggered in a given kit.
Try the ideas out for yourselves but don’t just stick to what I’ve outlined here - get creative and push your sound in new directions!


