As the best musicians and beat producers are always telling us, creating great music is all about putting your own stamp on your sound. Whether this involves selecting only certain types of sample material to work with, processing things in a particular way, structuring your sections distinctively and so on is entirely down to you and how you want to communicate with your tunes. When it comes to electronic and dance music in particular however, there are a number of musical elements you'll find it next to impossible to avoid - drum sounds being a case in point.
One Out Of Many
Electronic music has historically favoured certain types of drum sound over others, the famous Roland TR-808 and TR-909 drum machine sounds being especially ubiquitous in all walks of beat-based electronic music. So, in the face of the over-use of certain types of drum sound, how do we go about creating our own distinctive percussive flavour' One approach of course, is simply to find yourself some excellent, off-the-beaten-track drum samples; in this article however, we're going to look at another incredibly useful technique: drum layering.

Enter The Layer
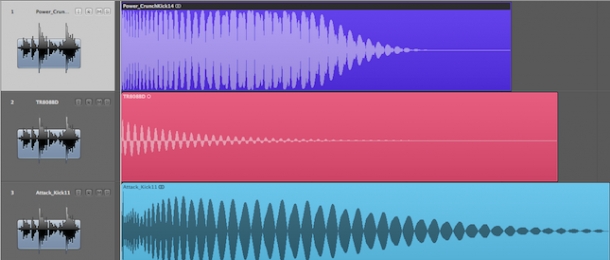
The core principle of this technique involves using a number of different sounds together and then EQing and filtering the individual layers to avoid clashing frequencies. The key is in your choice of material to try to mix together - the typical route to a solid kick drum sound for example is to layer up a deep, subby sound with a thinner, top sound to add some punch into the equation.
Come On My Selector
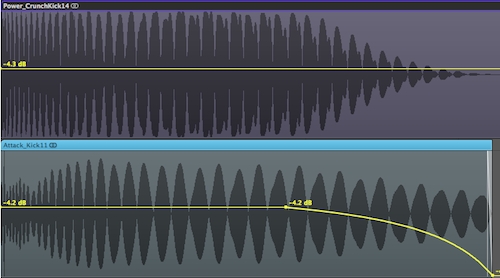
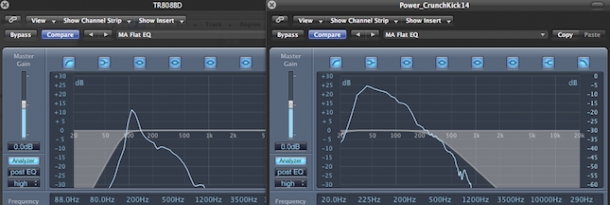
Things to consider when selecting sounds for layering include the lengths of candidate sounds (though a long sound can of course always been faded to produce a shorter duration), their important frequency areas (you won't want to pick two sounds that have lots of important sonic information in the same frequency space, as this will almost certainly lead to a wooly, lumpy sound) and the nature of their transients. Often for example, a short, snappy transient won't work with a less abrupt attack (although again you can always use a transient shaping plugin to better match the attacks).

Alternate Takes
Where things get more interesting is when you try to add more unusual sonic material into the mix, say by layering a burst of noise or synth texture to a snare to add a bit of spice. Just always be mindful of overlapping frequency regions between your layers and don't be shy when it comes to using steep low and high pass filter slopes to keep each layer within its own frequency space. Returning to the example of the kick drum, you might want to low-pass your sub kick sound at around 60Hz and high pass your top sound at the same frequency to keep them apart.

Final Steps
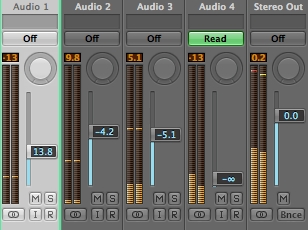
Once you've filtered and separated out your layers, the next step is to mix and balance everything. Listen to your combined sound in the mix and try muting certain layers, then gradually bringing them in from silence to find where they sit just right in the overall balance.

The last step is to bus out all our layers to a separate channel so that you can then process them all as one sound. This really can be the magic that brings this entire technique to life - add a bit of compression and/or transient shaping to force a single amplitude envelope across all your sounds, EQ them a little and limit to finish if you're going for loudness.
This technique can be applied to any and all drum and percussion sounds and the sky really is the limit - although you'll find pretty quickly that there are certain types of sounds that work well together and those that just don't. Good luck with your experiments!


