
Picture the scene: you've got a nice, fat snare slapping away within your programmed drum groove, bright, chunky hats slicing neatly over the top and even some deep, punchy toms thrown in for good measure. The last step before beat perfection is to throw in some thumping kick hits so, with your finger poised above a pad on your MIDI controller, you wait for the right moment and'plop. For some reason, the kick sound you've chosen just doesn't cut through the mix - it's got no body, no snap, no vibe at all!
Now of course, you might want to remedy this nightmare by selecting another sample (specifically, some tasty drum machine sounds just might do the trick) but sometimes you know the tone of the sound you've loaded is right, it just needs a little help to push it up into exciting, track-worthy territory.
In these cases, a technique I like to call 'pitched drum layering' really comes into its own - and luckily for you, it's the subject of today's quick tip!
The Process
The process works by loading multiple instances of the same sound, triggering them at the same time and applying pitching and filtering to each layer individually to blend them all together into a single percussive event. Sounds simple right' It is, and it will make your drums sound big, bold and beautiful!
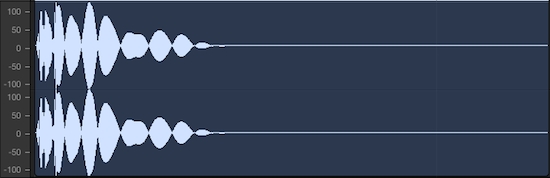
To demonstrate, let's take a single kick hit:
It sounds just fine on its own but when used in a beat, it lacks depth and punch:
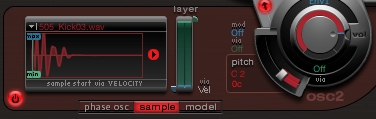
I'm going to use Logic Pro X's Ultrabeat sampler for the purposes of this tutorial but you can of course apply the same ideas in any other DAW/sampler/plugin arrangement you have at your disposal.
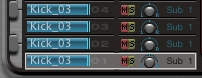
Let's start by creating 3 new copies of the same kick - now it's time for processing. The idea is to keep your pitching at octave intervals, so that the new layers simply enhance the spectral makeup of your original sound, rather than adding new colours and confusing or even muddying the overall sound.
You might think this wouldn't apply to a percussive, ostensibly non-pitched sound but even drum sounds contain frequencies at regular, harmonic intervals, they just happen to contain quite a few other, shorter lived frequencies at weirder intervals too!
So, one layer is pitched down the octave, with the other two pitched 1 and then 2 octaves above the original sample respectively. Here's how they sound in turn, beginning with the original sample:
We can tell straight away that the lower pitched sound is going to add some real heft to the overall kick and the higher pitched layers some body and click. However, when we play them all together things sound a bit confused:
The key here is to filter each layer so that it contributes it's own unique frequency range to the overall sound, without getting in the way of the others.
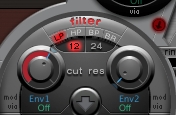
Leaving the original layer alone, we can low pass filter the lower pitched layer so that it doesn't muddy the higher pitched layers and by the same token, we can band pass the first octave layer and high pass the second octave to keep them from intruding on the lower layers:
So, here's our overall sound, containing the 4 pitched and filtered layers:
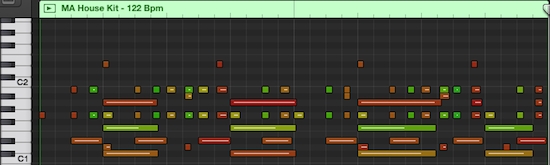
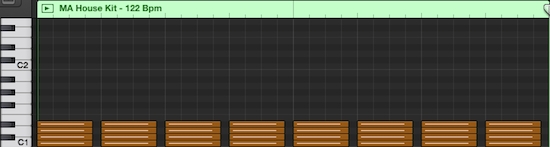
Now here's the original kick in context within a House beat, followed by our layered version:
What a difference, and all the result of some simple layering, pitching and filtering!
The very same technique can be carried across to snares, hats, toms, percussion, basically any percussive sound you care to throw at it. Get layering up those beats and keep your eyes peeled for my next tutorial arriving here soon!


